
Just in the nick of time:
The story of an A0 at 300ppi test
On a chilly day in early March 2020, when the Covid-19 cloud was just gathering momentum and becoming darker over Europe, I found myself travelling to Rotterdam in The Netherlands, on a half-empty plane while carrying the only working prototype (outside Phase One’s HQ) of the new iXH 150MP. It was at a time when social distancing was not yet a thing and when shaking hands was still considered appropriate. It was a little over two months ago and yet it feels like it was in a different era altogether! It was also Two and a half weeks before the planned launch date of the new camera system.
High-resolution Single-shot A0 @300 ppi Capture Solution
The plan for the trip was to meet up with Dick-Jan van den Berg (AKA DJ, who works for our partner, Servix) at GMS’s new premises in Sliedrecht, to install and set up a complete repro system so that we could test out our claim of the system being the first, and the best single-shot A0 @300 ppi capture solution.
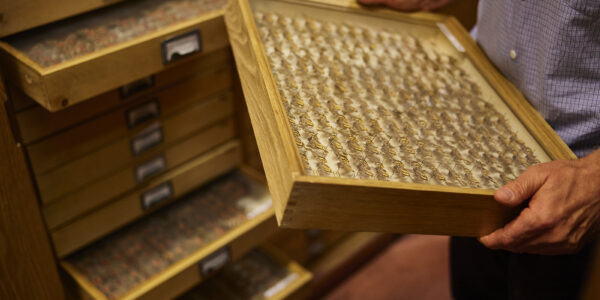
GMS is one of Europe’s largest & busiest service bureaus and as a family-owned company, they pride themselves on delivering many Metamorfoze-quality projects to several world-known libraries and archives across The Netherlands and Europe. I’ve known them for many years since the good-old Leaf days when they started using the Aptus backs on Cambo view cameras. Amazingly, they still have a few of those backs being used day-in and day-out. In fact, they have all done several millions of captures by now. For those who are not familiar with the nature of a what service bureaus do, imagine a factory with numerous workstations, all equipped with bespoke “machines” that are designed to keep objects flat and cameras perfectly positioned above them. Some of these utilize an automated mechanism for moving the objects, such as books, up and down, and press them against a sheet of glass. They can be programmed for specific cycle timing to match the speed of the operator as well, to maximize throughput.
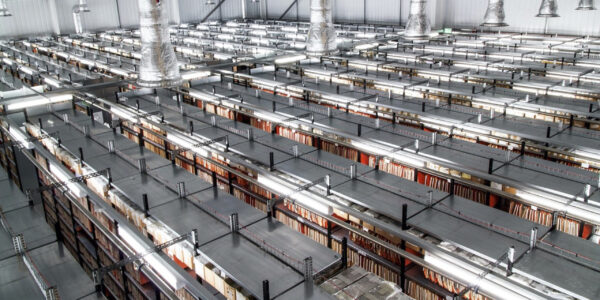
For larger flat objects like maps and drawings, they have been using large format scanners. While those can deliver high-resolution images, they can suffer in terms of image quality aspects, such as dynamic range and noise, but they can also be quite slow to operate. As they are old their maintenance in terms of uptime and costs is an issue, making them less and less relevant, especially for high volume projects.
Flat Scanning Solutions an Essential for Quality Images
Hans van Dormolen who is a well-known authority in the cultural heritage imaging community and who is the author of the Metamorfoze Preservation Imaging Guidelines was also on hand. Hans and I go back many years and have done this kind of tests a few times in the past. As GMS were in the process of moving into new premises, we were able to use a large, empty space in the building for the setup. We brought a floor standing RPS 2300XL AutuoColumn copy stand with a custom, A0+ baseboard and for lights, we had Two NanGuang COMPAC 200C bi-color large LED panels. These are fairly powerful, with CRI 95 and are considered a good, affordable lighting solution. In order for us to cover the A0 size board, we added the RPS-175 cross-arm extension for the copy stand. It pushes the camera farther away from the column, but it also adds rigidity and reduces the chance of any movement or flex in the arm.
One of the challenges in shooting such large, flat objects is getting a good level of focusing and sharpness across the frame. The larger the distance between the object and the sensor, the more difficult it becomes. Any kind of misalignment will manifest itself in variations in the focus plane, resulting in the center of the frame being super sharp while some of the corners appear softer as they are either in front or behind the focus plane. In some cases, stopping down the aperture will increase the depth of field but at some point, you start losing overall sharpness due to diffraction.
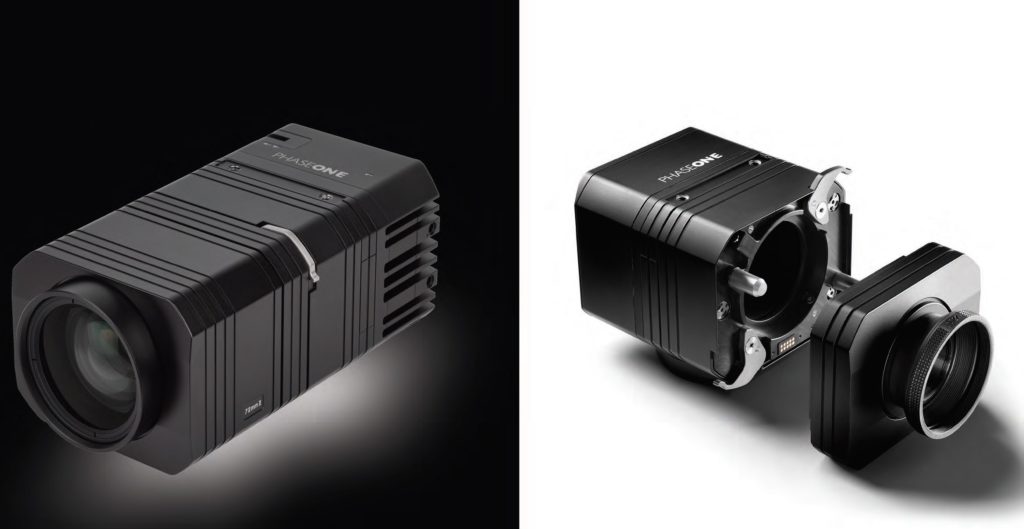
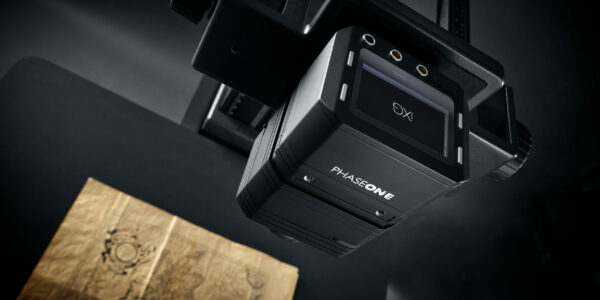
We have designed a new lens as part of the iXH 150MP system. The 72mm MkII, in my view (naturally biased) sets a new benchmark for resolution and sharpness, but also flatness. We created it specifically for reproduction applications, although I have a suspicion, from looking at its MTF curves, that it may produce a decent looking bokeh, should anyone ever try to shoot portraits with it.
Setting up the Copy Stand
We took the time to assemble the copy stand and to align everything up. The levelling head, which is an integrated part of the camera arm, helped us fine-tune things with the tried & tested method of using a mirror; You place a flat mirror on the base board, run Live View with cross-center guides showing so that as you focus the camera and adjust its alignment you eventually see the cross exactly in the center of the lens. Other methods for this can be using a laser pointing device that sits flat on the surface and points at the camera, with a mirrored filter on the lens, so that when everything is 100% aligned you get a single Red dot on the gauge.
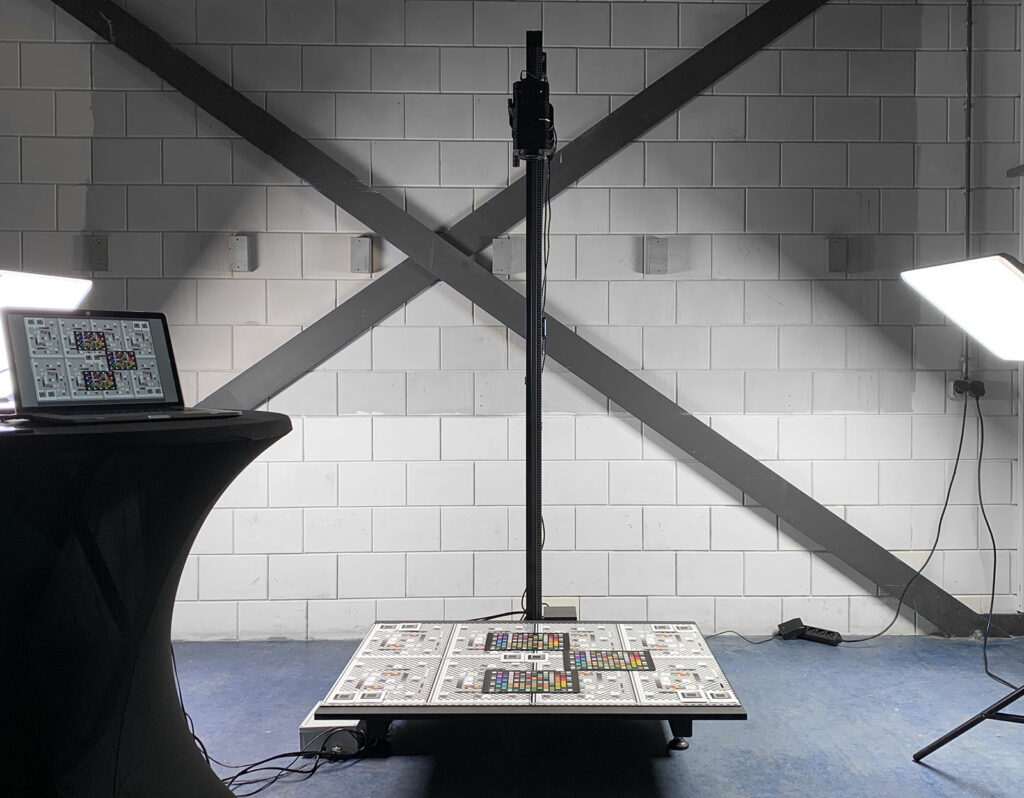
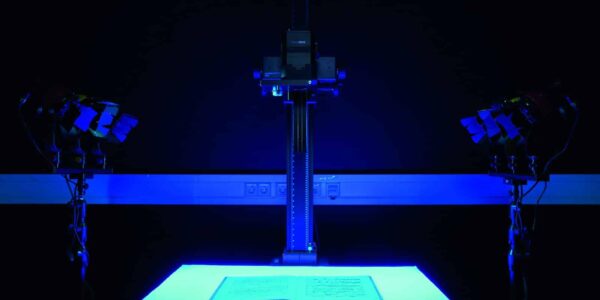
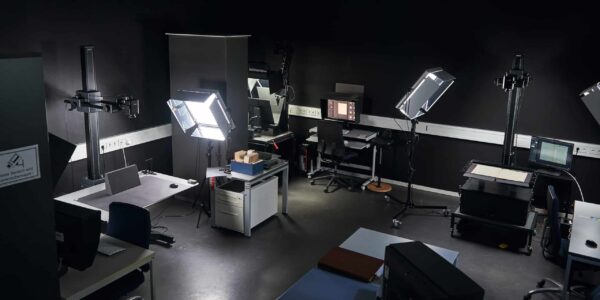
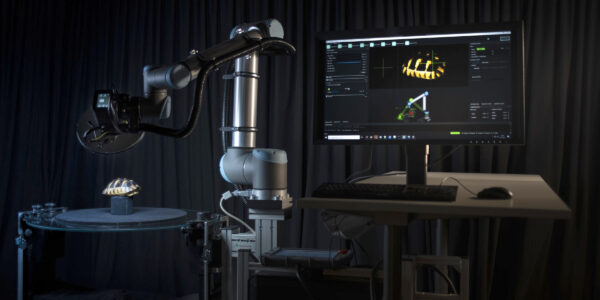
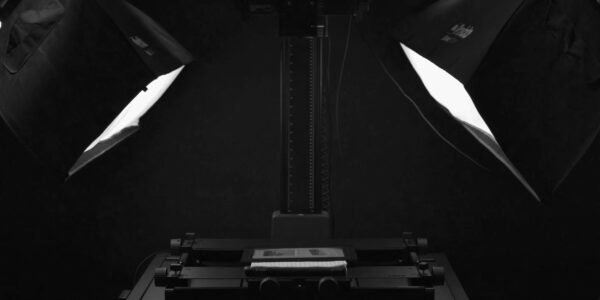
The setup ended up looking like this, and we even tidied up the boxes and cables so that it will look OK for the picture:

Test Targets – One Chance to Get it Right
The large test chart is made by Image Engineering in Germany, called UTT (Universal Test Target) and designed specifically for testing the standard compliance of digital cameras and scanners and is used for measurement of resolution, dynamic range, noise, distortion, light uniformity and color reproduction. The one we used is made of 8 similar A3 size charts, mounted on an A0 sheet of aluminium.
The goal of the test was to produce the best possible images, technically, so that Hans could run them through the IQ Analyser image analysis software and provide a set of scores for the said criteria. It is worth noting that there are other software & target suites and tools available in the market, from the likes of Image Science Associates and the FADGI OpenDICE
Why are these tests important you may ask? Basically, when you digitize a Cultural Heritage object, you often only have one chance of doing it before it goes back into storage, likely not to ever see daylight again. You want to do it properly and at the highest possible quality, which is why guidelines such as Metamorfoze, FADGI and the new ISO 19264 were set. They help you make sure you do everything right in terms of physical things such as alignment, lighting and positioning and in terms of your capture parameters: exposure, aperture, white balance and so on. If you use one of their supported/ recommended targets you can then measure the results and see if they match the guideline. For a service bureau like GMS, doing these tests routinely is a basic requirement from all of their clients. If before or during a project, the system fails to deliver on one of the criteria, this often means they have to stop working, check and troubleshoot everything until they can have the green light from the client to proceed.
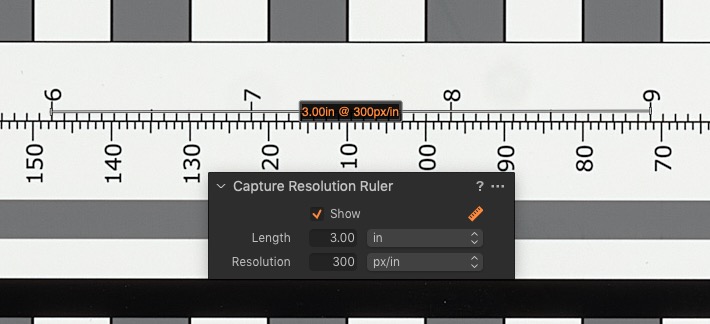
One of the key steps is to get the distance and resolution set correctly, so when a project specifies “300ppi” you have to make sure you are within 1% off that mark. The good news is that with AutoPPI the process is actually very easy. First you place the camera roughly where it needs to be. With the iXH 150MP this is around 2 meters from the object. You calibrate the column using the Copy Stand tool in Capture One CH. The software then knows where the arm is in relation to the top hard stop.
Next, you set the required PPI in the camera focus tool and press start. The camera focuses and measures resolution, the software will then move the camera up or down to the position that gives the requested PPI.
You can see the process in the video below.
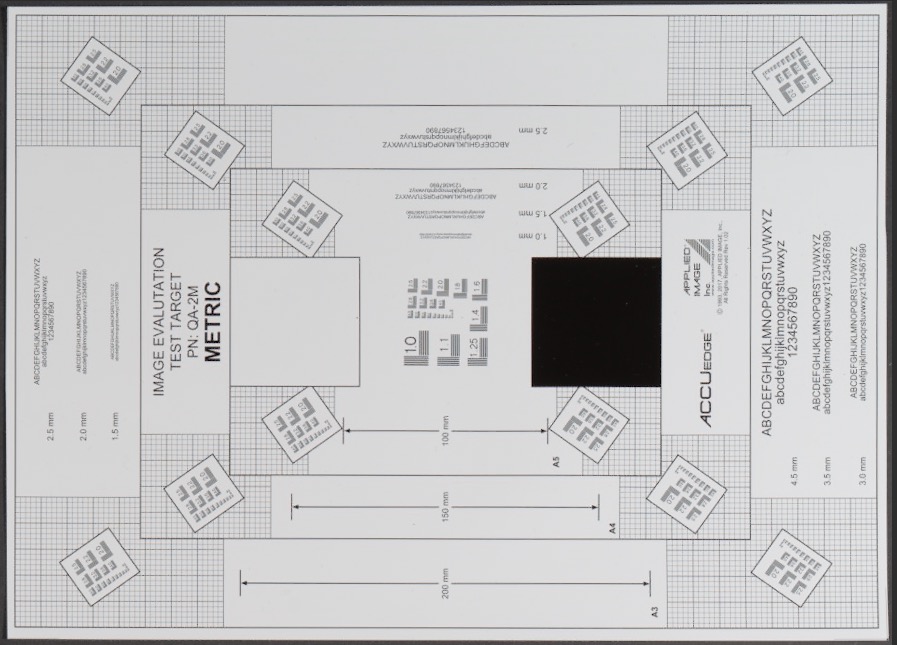
Going through the session’s capture folder, we captured a total of 34 images and those included the few that are usually needed for adjusting focus and exposure, plus some resolution-specific QA-2M Metric targets as well as the popular X-Rite ColorChecker Digital SG charts.
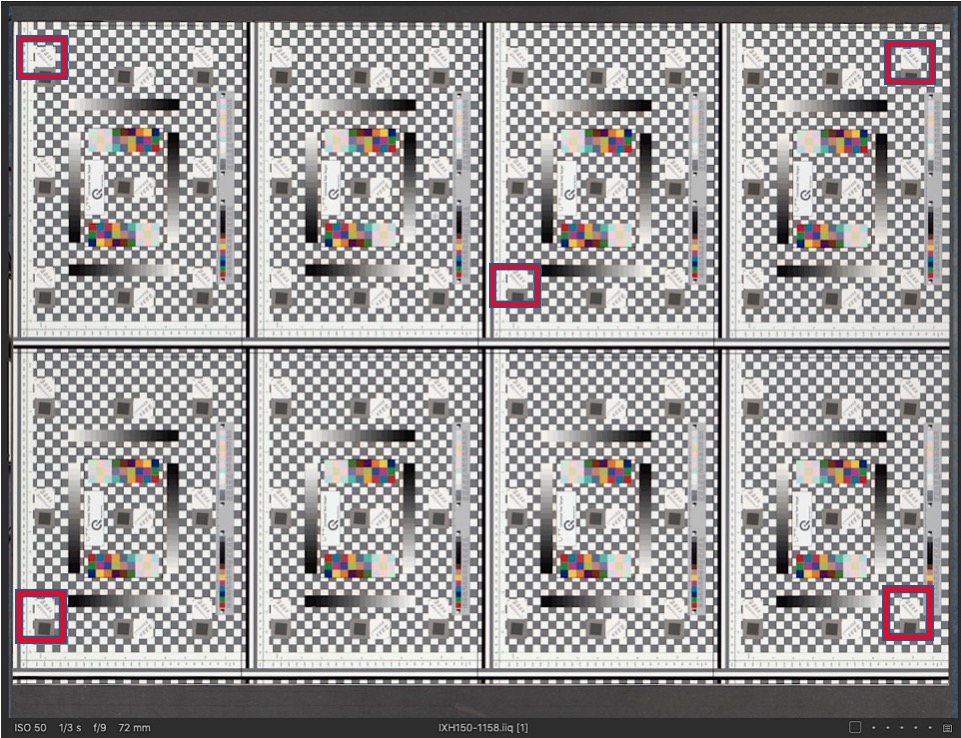
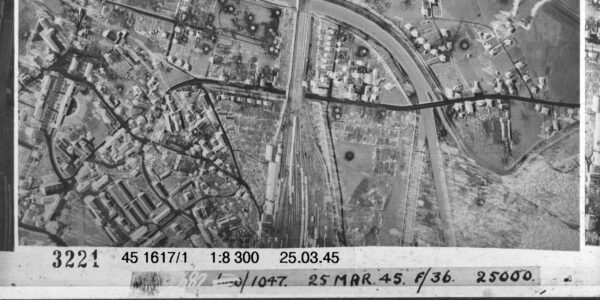
At 300ppi the iXH 150MP can cover a little more than A0, which allows for some wiggle room when the object is not absolutely rectangle or straight, often with things like old drawings and maps especially those old enough to have been hand drawn on woven material that stretches. See for example this map which was digitized at the Cambridge University Library in the UK in.
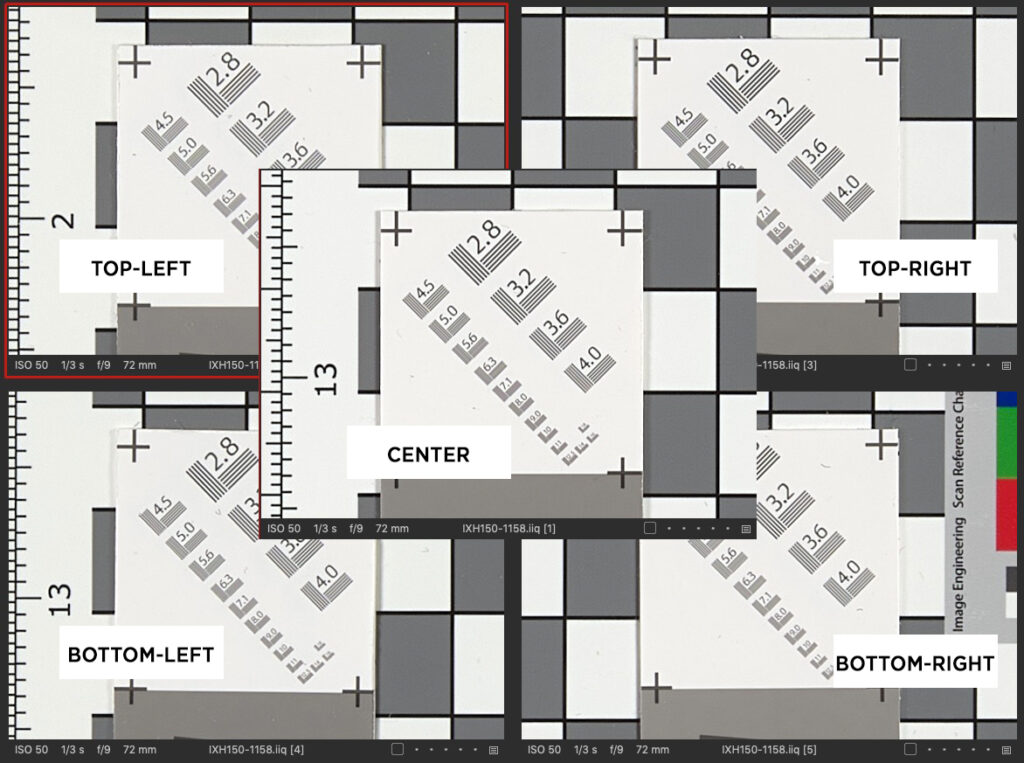
The below image shows the center and 4 corners when viewed at 100% magnification. Visually there is no difference in sharpness and/ or resolution between them and the MTF graph resulted from these images pretty much backs it up.
iXH 150MP Saves Digitization Time and Improves Productivity
In practice, this proves, and means, that the iXH 150MP in combination with the new lens is more than capable when it comes to digitization of such large objects and not only it can do is very, very well, but it can do it almost instantly. The time saved by using instant capture can be translated to cash as you know you can take on higher volume projects and at the same time you have a system that is very flexible as it can capture maps one day and scan 35mm film negatives at super-high resolution the following day.
Bram Groenendijk, the owner and director of GMS, swung by and brought us some sandwiches and snacks for lunch and we had a good conversation about the opportunities that the new system can open for their business. As I am now writing this story (late May 2020) GMS are about to take delivery of the first iXH customer unit.
That night, upon coming into landing at City Airport, I took this picture of yet another impressive sunset over London (you can just about see the famous Thames Barrier on the right). Little did I know that this was the last sunset I was going to see from an airplane for a long time…
References:
- https://gmsnl.com/en/
- https://www.phaseone.com/en/Cultural-Heritage/iXH-150MP-Camera-System
- https://www.phaseone.com/en/Cultural-Heritage/Flat-Copy-Scanning-Solutions
- http://www.digitizationguidelines.gov
- https://www.metamorfoze.nl/english
- http://www.imagescienceassociates.com
- https://www.image-engineering.de
- https://xritephoto.com/colorchecker-digital-sg
- https://www.linkedin.com/company/phase-one-ch/
- Phase One partner: https://www.servix.be/contact/
Contact a Phase One expert
Are you interested in learning more about our Cameras and accessories? Fill out the form, and a Phase One Cultural Heritage expert will be in touch shortly.

Heritage
Digitizing Panorama formats with Phase One
Heritage
Modular digitization at the Herzogin Anna Amalia Bibliothek
Heritage
Goethe in Weimar’s digitization center

Heritage
University of Tartu Library

Heritage
Het Nieuwe Instituut (The New Institute) – Rotterdam, The Netherlands
Heritage
Digitizing the Lepidoptera collection at the Hungarian Natural History Museum
Heritage
Digitizing Dinosaurs and the Path to Virtual Exhibitions
Heritage
Getty Images Archive – Phase One iXG 100MP and Film scanning solution

Heritage
The Royal Library of Denmark
Heritage
The Fotothek of the Bibliotheca Hertziana
Heritage
Digital Aerial Photography Archive for Baden-Wuerttemberg

Heritage
Just in the nick of time: the story of an A0 at 300ppi test
Heritage
Phase One generates stunning results for colonial cartography maps
Heritage
Journal digitization workflow with the iXG Camera System

Heritage
A conservation analysis project of two Pieter Bruegel masterpieces